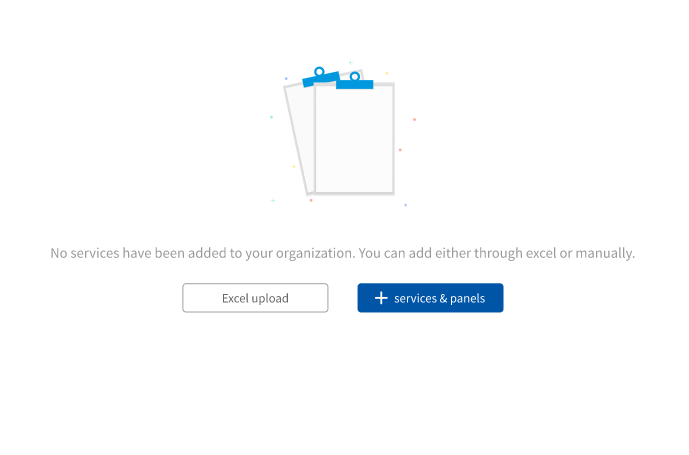
- Test Library is the library of an organization. Here, the user can add services/panels into the organization’s Head office level or Branch level.
- From the Head Office level, the services/panels can be duplicated to the branch level in case there are multiple branches and thus, saving time.
In the test library screen:
There would be two options to upload services that are excel upload button and the Services and Panel button.

When clicked on ‘+SERVICES AND PANEL’ button:
Drop-down to select Lab test/panel or Radiology tests/panel.

After the selection from the drop-down, all the tests from the Drucare Master data would be visible when clicked on the ‘SERVICES AND PANEL’ button.

A pop-up would open showing the master list. The services can also be searched according to the departments (from the drop-down) and with the help of multi selection option, the services can be selected and then added to the organization by clicking on ‘ADD TO SERVICES BUTTON’.
After the services are added, a table appears with all the details to be added.
Table contents:
- LOINC name: Name of the services pulled from the master data (editable).
- Friendly name: Name to be use by the organization (editable).
- Method name: The method with which the test would be performed (editable).
- LOINC code: Standard code given to the services by default.
- Organization code: Code given by the organization to the services
- Sample: selection from the drop-down list.
- Department: Department name is non-editable and is from the master data.
- Provided by: To choose the provider for that specific service, there is a toggle button showing, ‘my organization/external providers’. ‘My organization’ is selected when that specific service is being provided by the organization itself and ‘External provider’ is selected when the service is being provided by the third-party vendors.
Actions:
1.Delete option: Each service in the table would have a delete option to delete it from the organization list of services.
2.Edit option: Each service would also have an option to edit the details of the services (ss)
3.Cancel: After clicking on ‘edit’ if no field has to be edited, then ‘CANCEL’ can be clicked.
Save button has to be clicked to save the changes after the editing every single time. (ss)
After adding attest from the master data, if any field is not entered for that service, then that field box would appear in red colour reminding you of entering the data for that field.

Excel upload and download:
With the help of excel upload, the organization can upload the already existing list of services according to the upload format. The user can also click on the download option to download the list of services.

How does excel upload work?
There are 5 steps:
A.Upload file:
Download the sample template and enter all the details in the excel sheet and upload it. Or, if there is already an excel sheet with the same template and service list and their details saved in it, then, browse and upload it

B.Error correction screen:
Against the uploaded file, all the errors would be shown which are to be corrected. The error might be some fields detail which the system is not able to recognize or some fields which are not entered or are entered wrong.

C.Validating data:
- After the error correction, the details would be validated by the system to check if the services are present in the master data or not.
- There might be a few services which are Partially matched or New instead of being Matched.

D.Map unmatched:
- The Partially matched services can be mapped to the services list by selecting one of the suggestions which the system is suggesting and click on ‘MAP AND NEXTap’ button.
- But if there is no match for the service and it has to be added as a new item into the master data, then it is not possible because all the lab and radiology services in the master data are according to their LOINC code and adding a new service into that list which doesn’t have a LOINC code would be wrong.

E.Add to test library:
- After all the mapping is done, to add the services into test library list, click on ‘ADD TO TEST LIBRARY’ button.

The table showing the list of the services has both vertical and horizontal scroll option as there are multiple columns and rows.
Also, pagination is used i.e. multiple pages would be showing the list of the services.
Custom panel:
A panel is a combination of diagnostic services that are offered as a group.
Panel Pricing is the way to bring together a combination of tests and offer them together for a combined price. The panel pricing can be defined in this section. (Note: The pricing changes must be saved by clicking on the save button so that the changes made are not lost.)
Steps to create a custom panel:
- Under ‘AVAILABLE SERVICES AND PANEL’ header on the left side of the pop-up, we can see the list of the services for whom pricing has been already given in Catalog.
- After selecting the tests/panels from the left side, those selected services would be seen on the right side of the pop-up on the box with header ‘SERVICES AND PANEL’.
- The order of the services can be changed by dragging and dropping.
- Enter the Panel name.
- Click on ‘CREATE PANEL’.
Note: ‘CREATE PANEL’ button won’t be enabled if the panel name is not given because it is a mandatory field. (Or) when panel name is given but no services are added into the panel.
