Some Drucare customers use screen reader software, or screen readers, to read our documentation. Screen readers convert the contents on a page into synthesized speech for a user to listen to. All images in Drucare docs must have alt text so the entire page is accessible through screen reader software. Alt text is a written-out equivalent of the image that a screen reader can dictate.
You can find more information about website accessibility requirements on the Americans with Disabilities Act (ADA) website and on the Section 508 government website. For more information on accessibility in Drucare docs, see Write accessible documentation.
Best practices
All images in Drucare docs, whether a screenshot, diagram, GIF, or inline image, must have alt text. For inline images, GIFs, and complex diagrams, it’s important to have adequate surrounding text so you don’t place too much information in the alt text. As a general best practice, ensure that the entire section still makes sense if you replace an image with its alt text.
Surrounding text
When you’re writing surrounding text, keep the following points in mind:
-
For an inline image, write the name or description of the icon in the sentence. Put the icon in parentheses immediately after that text.
-
For a complex diagram, use lines of surrounding text to explain the diagram. You can include a simple sentence in the alt text that refers to the precise location of this descriptive text.
-
Lead into the image with a complete sentence. Punctuate the end of the sentence with a colon.
-
It’s okay to use “before”, “after”, and “following” in the surrounding text when you refer to an image. Do not rely on directional language, such as “left”, “right”, “above”, or “below”, when you refer to a location in a UI or document. These instructions are unhelpful to visually impaired users.
Alt text
When you’re writing alt text for an image, keep the following points in mind:
-
Use short phrases or complete sentences with punctuation.
-
Avoid starting alt text with general phrases like “Image of”. If you want to specify the type of image, you can describe the image using phrases like “Screenshot of” or “Diagram of”.
-
Focus on describing the meaning of the image rather than what you see in the image.
-
Lead with the most important information.
-
Introduce only relevant information based on the context of the topic.
-
Don’t call out implications or add new information to the alt text.
-
Keep the alt text concise overall. If you need to add detailed information to convey the meaning of the image, add this information to the surrounding text.
-
-
For complex images, introduce the image with the surrounding text first. Then, add the most important information about the image in the first sentence of alt text. Add another sentence of alt text that describes where the surrounding text is on that page.
Alt text examples
Good alt text describes an image so that a user who uses screen reader software can reach the same understanding as a user who looks at the image.
The following images show examples of good alt text.
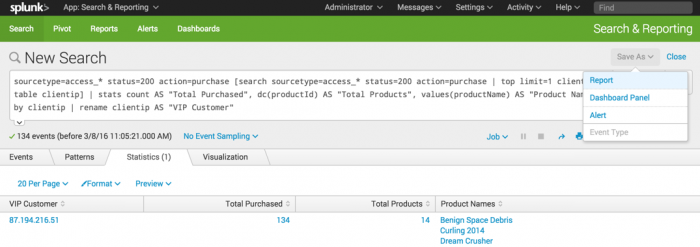
Screenshot of full-width UI
This example shows a screenshot of the full width of the UI:
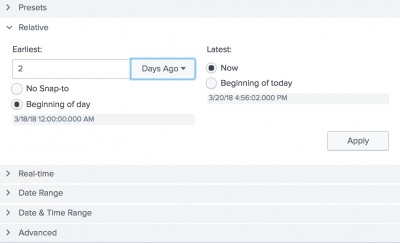
Screenshot with user input
This example shows a screenshot with user input:
Diagram with brief alt text
This example shows a simple diagram with brief alt text:
Diagram described by surrounding text
This example shows a diagram that is described in the surrounding text within the topic:
- Example
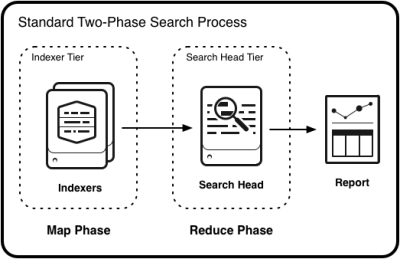
- In a typical distributed search process, there are two search processing phases: a map phase and a reduce phase. The map phase takes place across the indexers in your deployment. In the map phase, the indexers locate event data that matches the search query and sorts it into field-value pairs. When the map phase is complete, indexers send the results to the search head for the reduce phase. During the reduce phase, the search heads process the results through the commands in your search and aggregate them to produce a final result set.
- The following diagram illustrates the standard two-phase distributed search process.
GIF
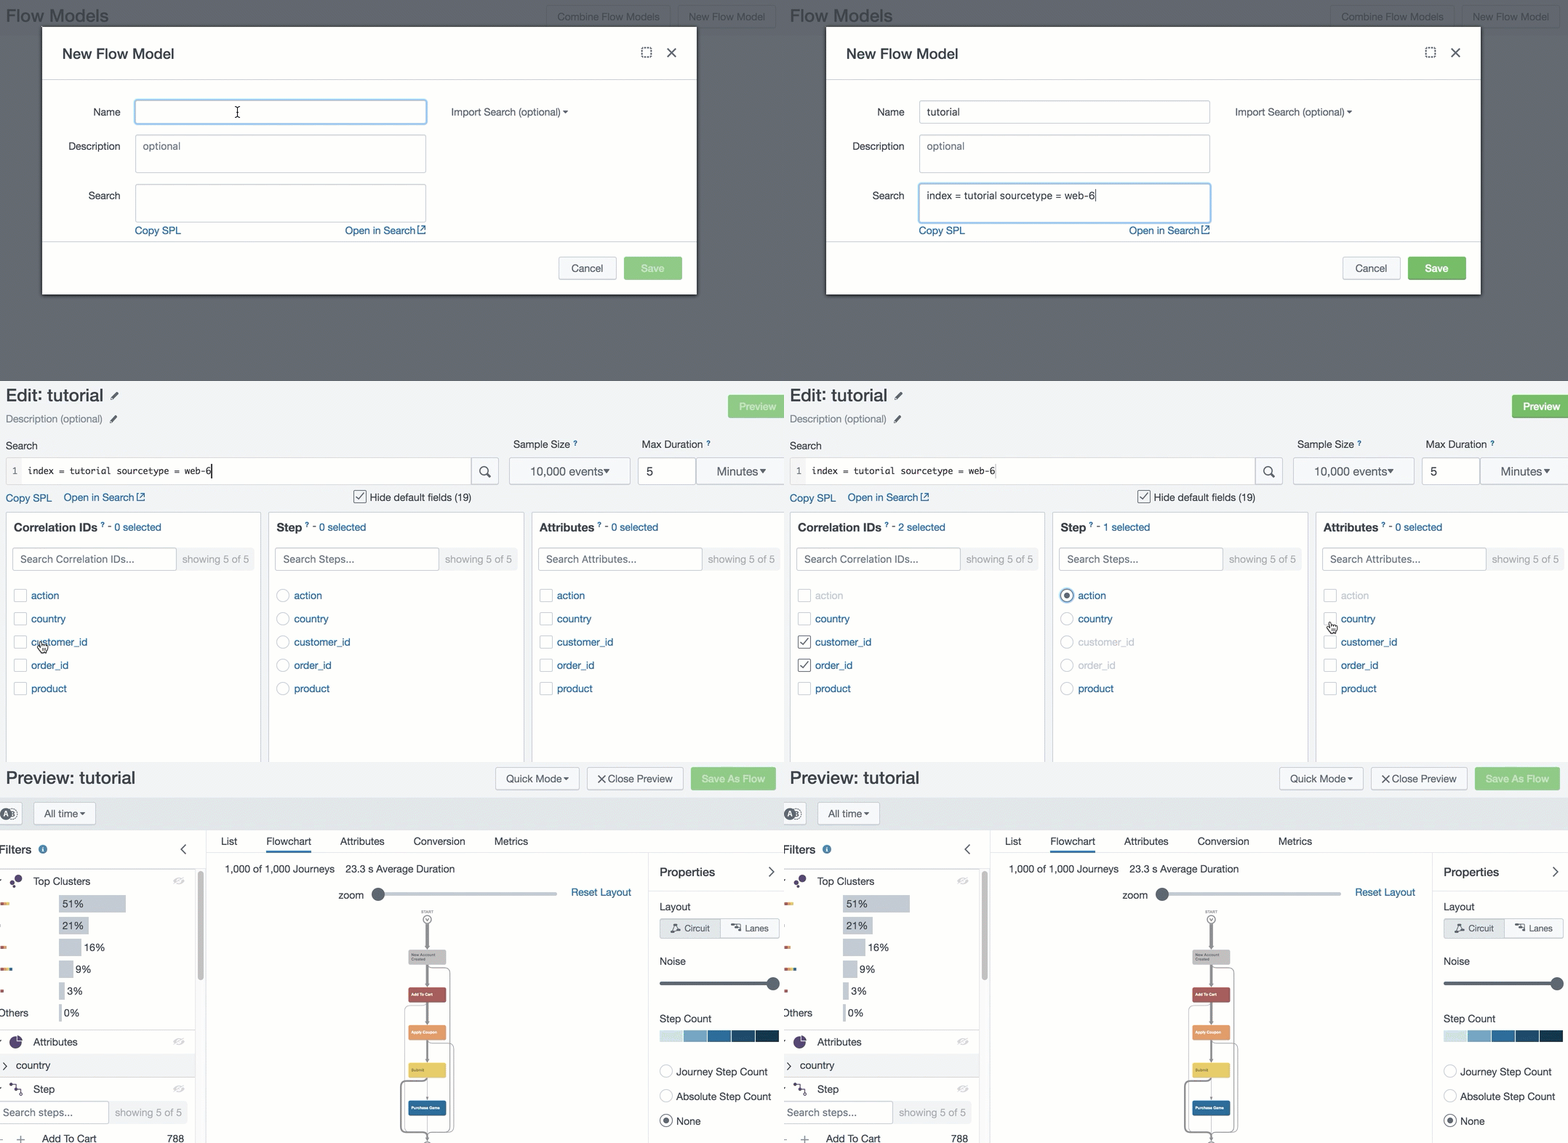
This example shows a GIF that has a detailed description of what happens during the animation.
The following animation shows how to add a Flow Model and launch the Explorer: 
Named inline image
This example shows a named icon that users must click as part of a step in a task:
Unnamed inline image
This example shows an unnamed icon that users must click as part of a step in a task:


